Construction - Novice Building An Eastport Pram In Australia
Main menu:
Construction
Start
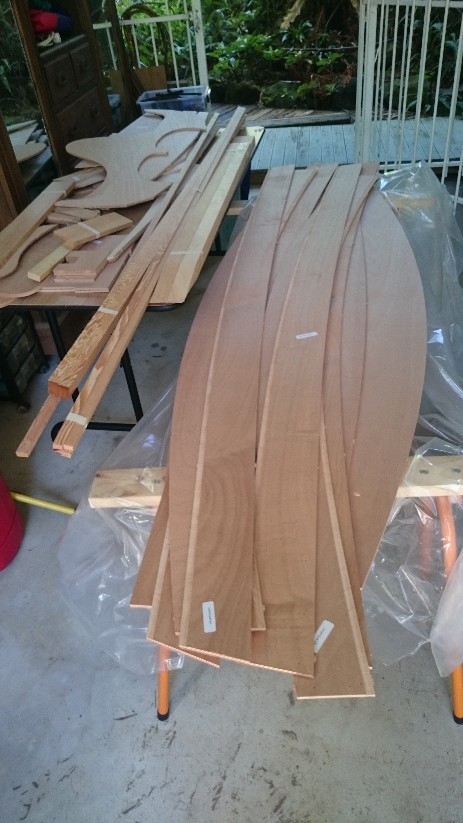
Semi unpacked the kit, read the instructions, went out and bought some new tools ); drill, router (battery shared type), small saw, small hammer, sandpaper, protective gear and a couple more saw horses.
The West System epoxy and glass components were delivered a day or two earlier form the local agent.
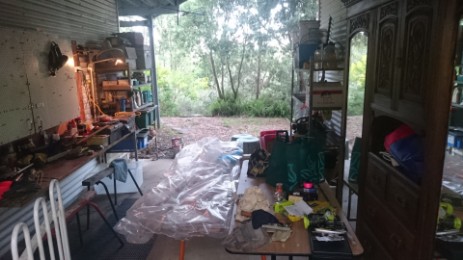
My sub-tropical workshop is in an open breezeway under the house, well enough protected from all but the worst weather.
That night I snipped a small pile of copper wire ties while watching TV.
Session 1
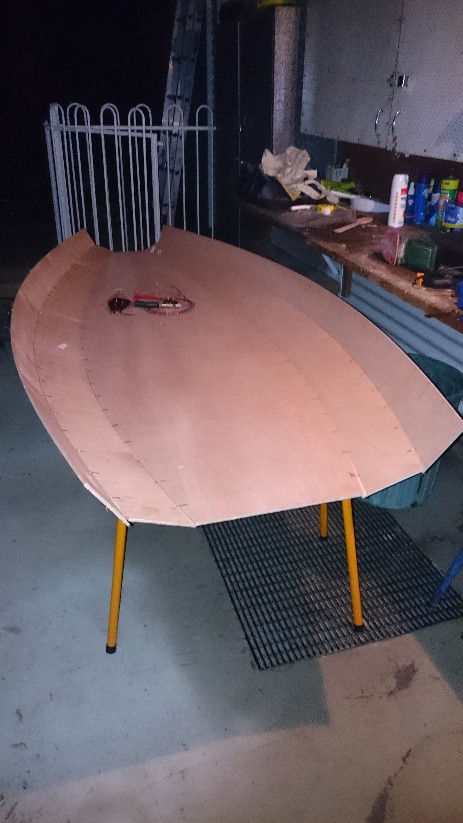
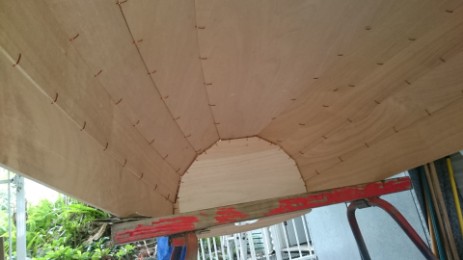
Wire stitched the front, back, and sides. Put in the midship 48 inch spreader, decided to fix it with a couple of screws.
Wire stitched the front, back, and sides. Put in the midship 48 inch spreader, decided to fix it with a couple of screws.
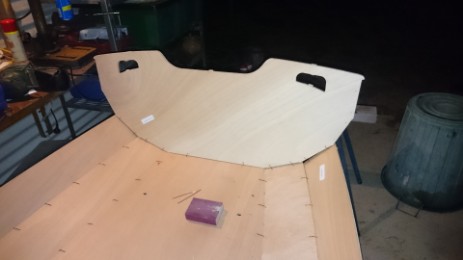
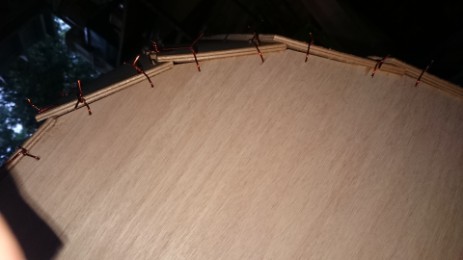
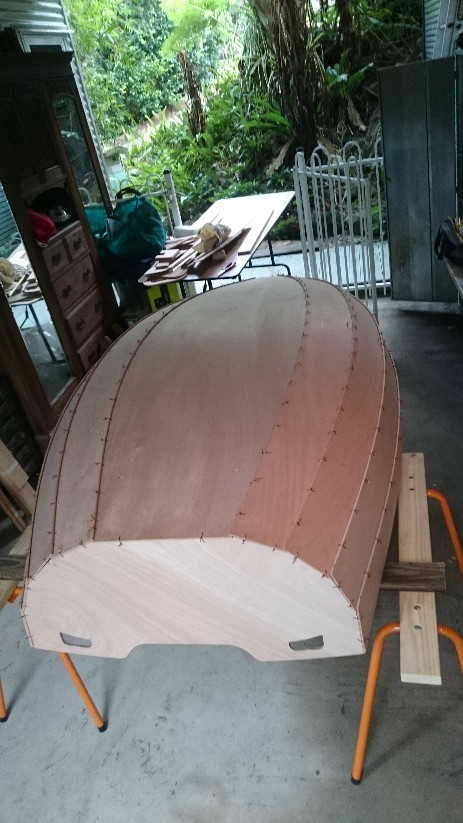
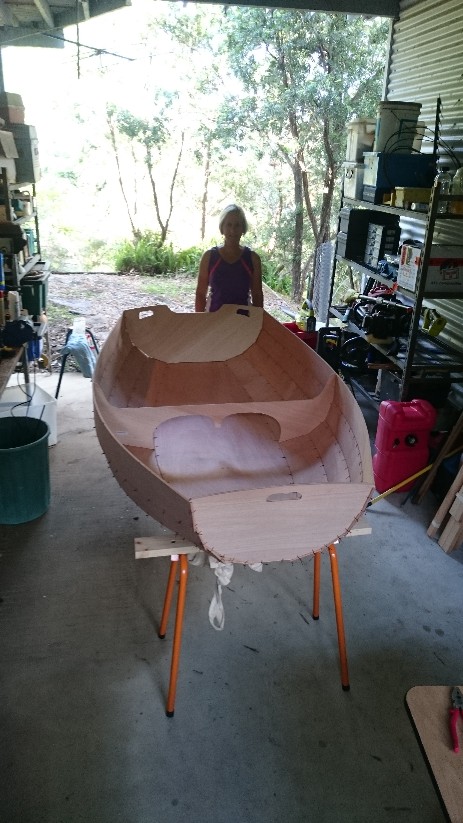
Session 2
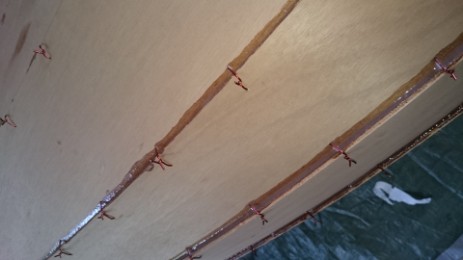
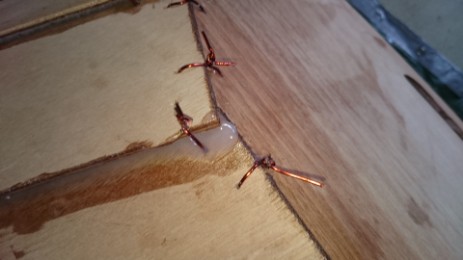
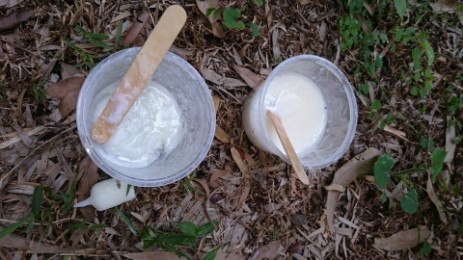
Bonded the side panels. Maybe the mix was a bit thin for the ambient temperature around 25C, got some dribbles out of the ends and wetting of some of the wires, especially the #1 and #2 planks.
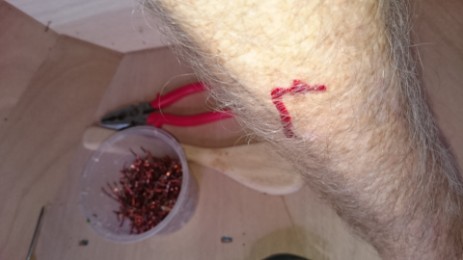
After epoxy was applied, I inspected checked the boat every couple of hours to look for any dribbles that needed to be cleaned up. Taking photos underneath was a good check for any epoxy leaks.
After epoxy was applied, I inspected checked the boat every couple of hours to look for any dribbles that needed to be cleaned up. Taking photos underneath was a good check for any epoxy leaks.
Session 3
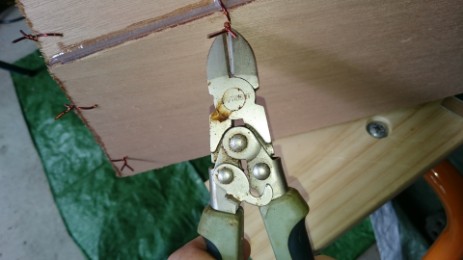
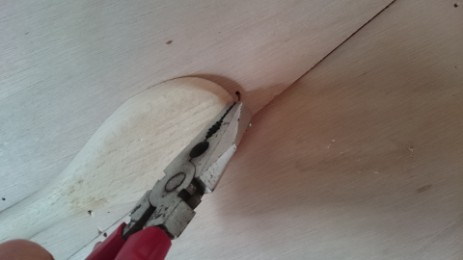
Snipped and removed the wires, sanded transom, cut aft drain hole, filleted transom and bow with excess to partially filling the floor. Had to do 3 temporary wires on bow which detached from 2 planks during rollover. Stern had more dabs of resin to hold it in place when wires came out, and was no problem.
Pulled out the temporary wires before it fully set.
Session 4
Sanded the bow, mostly with 40 grit on the old rectangular orbital sander. Deborah shaped the daggerboard with 80 grit new circular orbital sander. I discovered that the new router would not take the 12mm radius bit due to the slightly undersized hole in safety cover. Tested out the 6mm bit, all good.
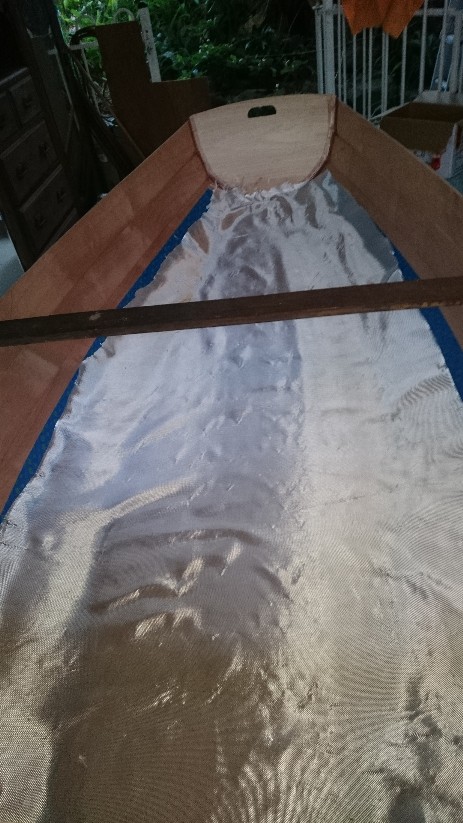
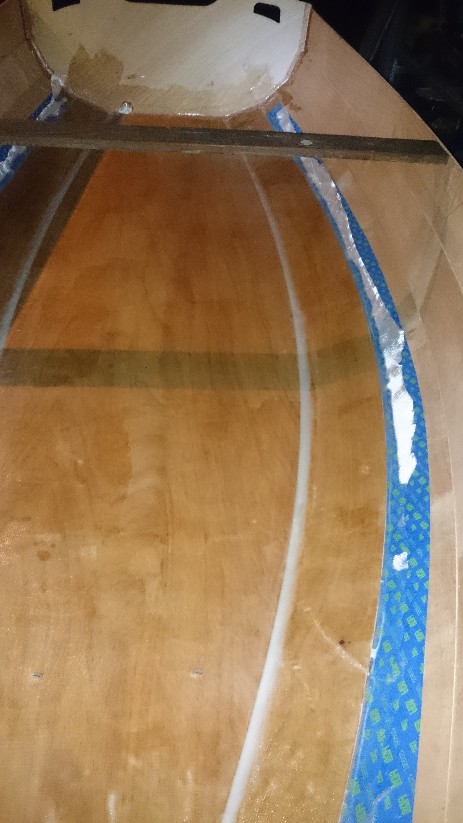
Glassed the internal floor and first plank, had to do a second epoxy mix along the way. Used the narrow yellow foam roller (75mm?) Mixed 240ml on the correct assumption that the pan would spread the reaction heat out enough to avoid a repeat of the dreaded mix attempt #1 which reacted wildly and was carted out into the yard with smoke/vapour coming out of the pot !
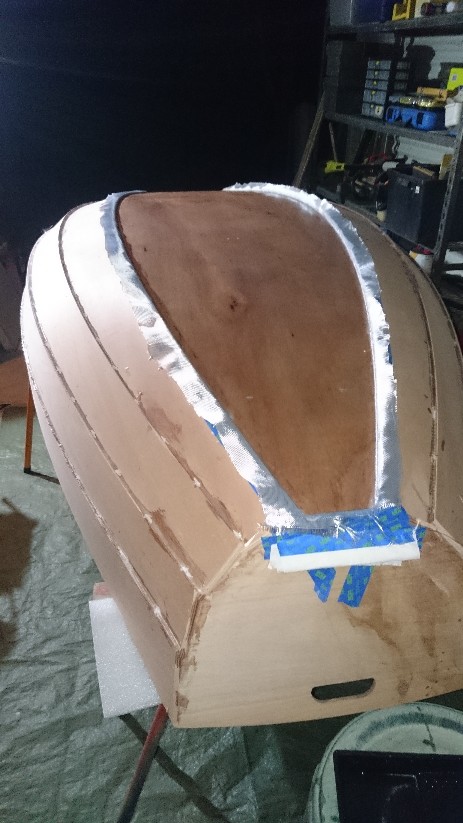
The glass cloth accommodated the curvature quite well but I needed to make a cut just before the bow bulkhead location. Once hidden who cares about an overlap fold as long as it is sound?
Trimmed the glass at night after the epoxy was fairly firm.
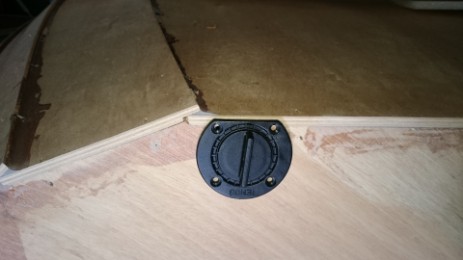
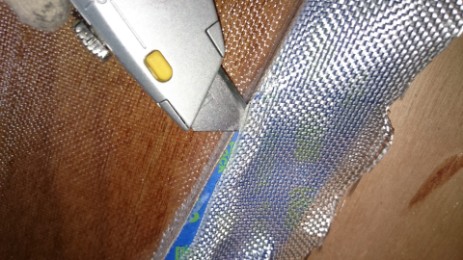
Cut out bulkhead location holes and drain hole in the cloth with a Stanley knife.
Session 5 (evening)
Added a 20 watt rechargeable LED work light to supplement my LED headlamp. Very useful.
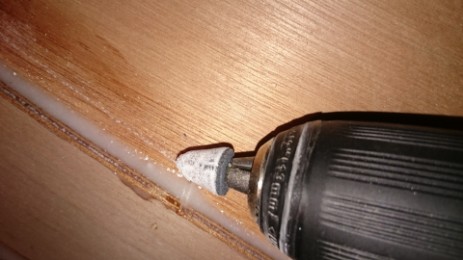
Ground out the lumps (where epoxy wet the stitching wires) with a conical stone on the drill.
Glassed the bottom.
Added a 20 watt rechargeable LED work light to supplement my LED headlamp. Very useful.
Ground out the lumps (where epoxy wet the stitching wires) with a conical stone on the drill.
Glassed the bottom.
Session 6 (evening mostly)
Trimmed the excess glass off bottom.
Rolled the boat over again.
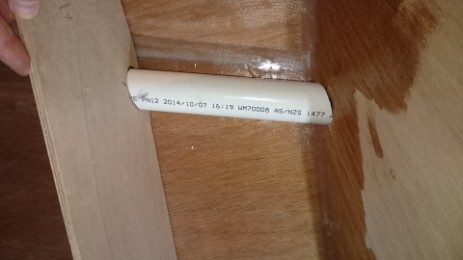
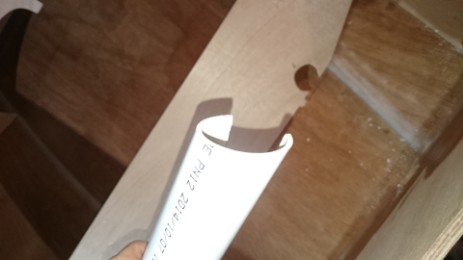
Shaped the aft drain pipe with a hacksaw, straight router, and sanding. Sanded and placed the 3 bulkheads in position with the tops wired.
Rolled the boat over again.
Shaped the aft drain pipe with a hacksaw, straight router, and sanding. Sanded and placed the 3 bulkheads in position with the tops wired.
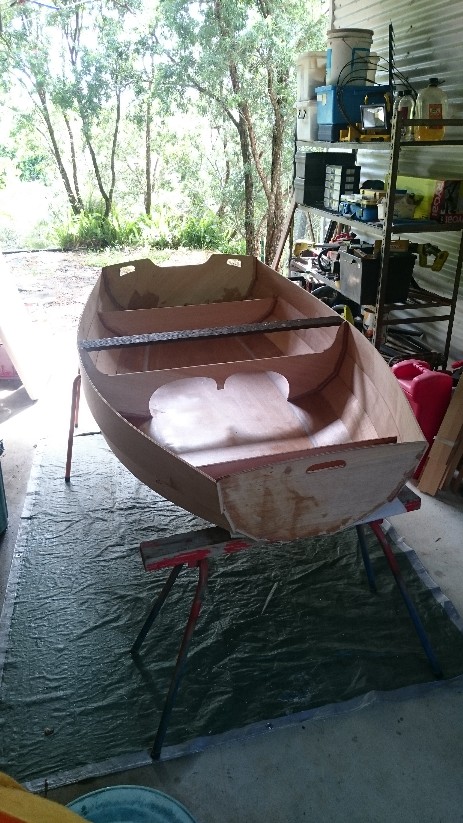
Session 7
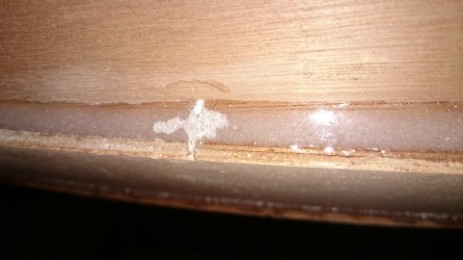
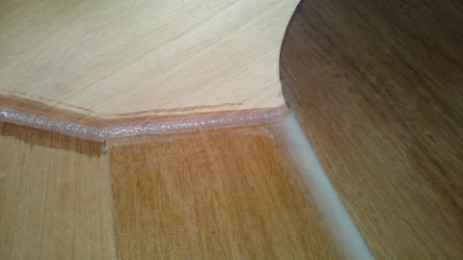
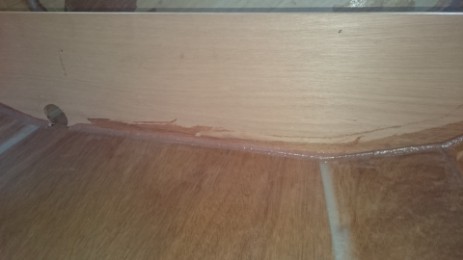
Epoxy filleted the bulkheads and the aft drain pipe. Used the surplus epoxy mix to partly fillet the inside joint between first and second planks.
Session 8
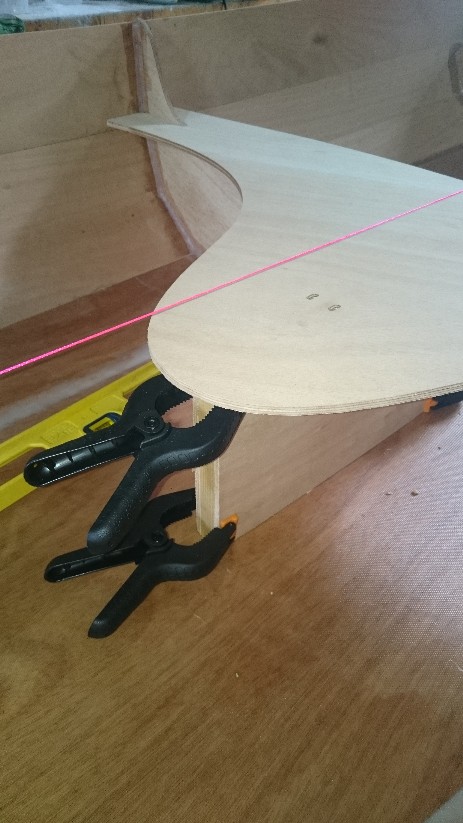
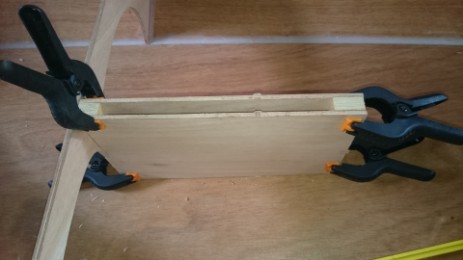
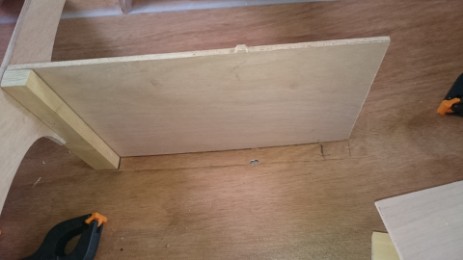
Shaped and located the daggerboard box and central seat in final positions to work out the required slots in floor and seat. Everything fitted to within a millimetre.
Decided to do some work on all the sailing bits and outwals before bonding the skeg, skids and seats.
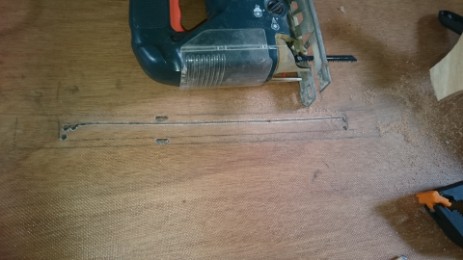
The slots is going to be 14mm. The daggerboard is 10mm so with epoxy and varnish coatings that should be OK.
Come to think about it further, maybe 15mm would be better. Impossible to fix afterwards.
In the end I simply widened the slot to match the size of hole in the daggerboard case. This job was definitely one of those measure and check three times and cut once type jobs.
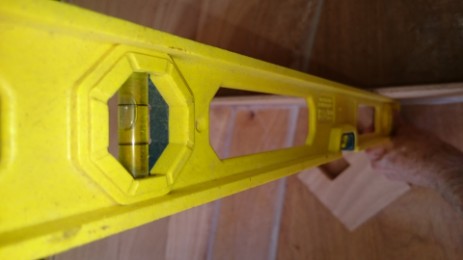
Next, all the seats were jam fitted and checked with the spirit level.

Session 9
A fairly long session in the late afternoon/evening.
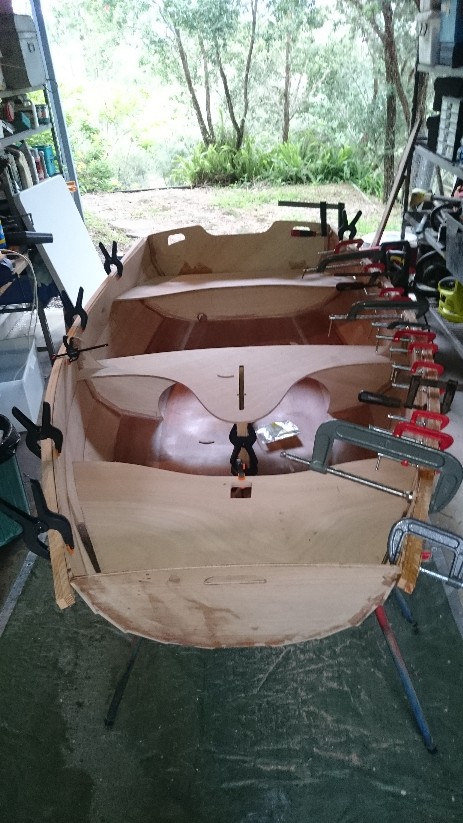
Bonded the portside outwale (a new term for me, I would have called it the gunnel) with my #1 assistant helping.
A fairly long session in the late afternoon/evening.
Bonded the portside outwale (a new term for me, I would have called it the gunnel) with my #1 assistant helping.
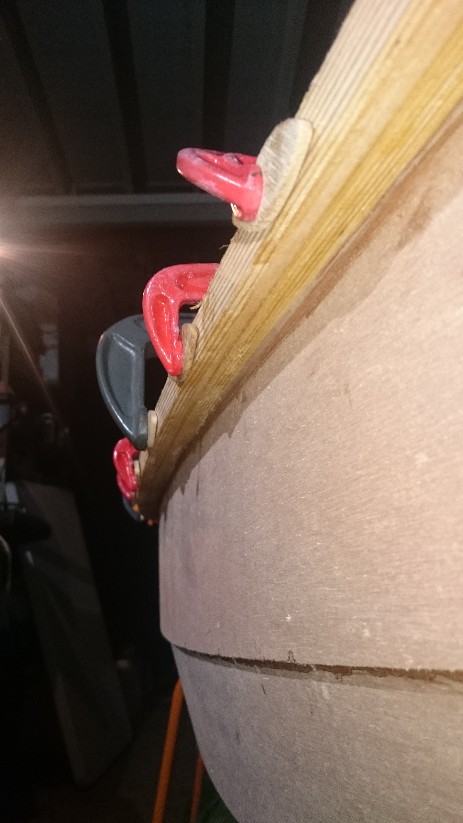
I did not want to spread epoxy around the boat so we did it in another area and carried the sticky timber strips over for clamping, not an easy thing to get around corners! (Back tracking slightly, I had clamped the outwale strips to the sides for a couple of days for shape pre-conditioning and found that this helped.)
After clamping just enough to be firm, I tapped the timber into alignment with the large white rubber mallet and then tightened the clamps up more. I checked the situation every couple of hours. Fixed a little bit of position creep on the first check and tightened some of the clamps up further.
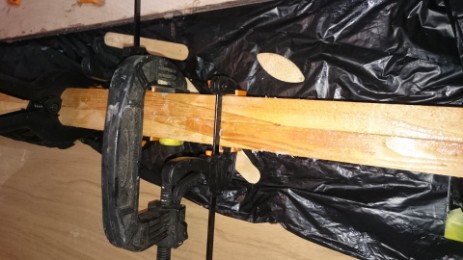
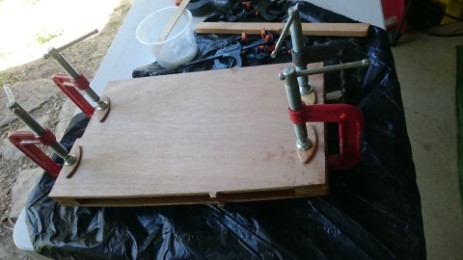
Pressing on, and mixing another lot of epoxy, the mast and skeg were both bonded with the skeg clamped to the table and the mast lying flat. In both cases thin poly rubbish bags were underneath to prevent any table bonding.
The four mast scafes were set as a zig-zag versus a 'point' because I thought it might be slightly stronger.
On the first check after epoxying the scafes had crept several millimetres out of alignment.
Panic stations!
The main problem appeared to be that the big spring clamps were exerting some sideways pressure. These were used on the mast as most of my 'C' clamps were already used on the outwale and the spring type permitted an easy visual check of the bonded mast alignment.
I pressed the joint back to flat and added a few 'F' type clamps which did the trick. However it was no longer possible to visually check the entire mast alignment.
It was night time so I just did the best alignment I could with the lights out and a focussed LED headlight beam along the mast.
Session 10.
I was relieved to find the mast was good and only about 15 mm off perfectly straight. During the previous night's panic the two sections of mast slid about 10 mm out of alignment at the ends so the whole thing will end up an inch shorter than anticipated. Not a problem?
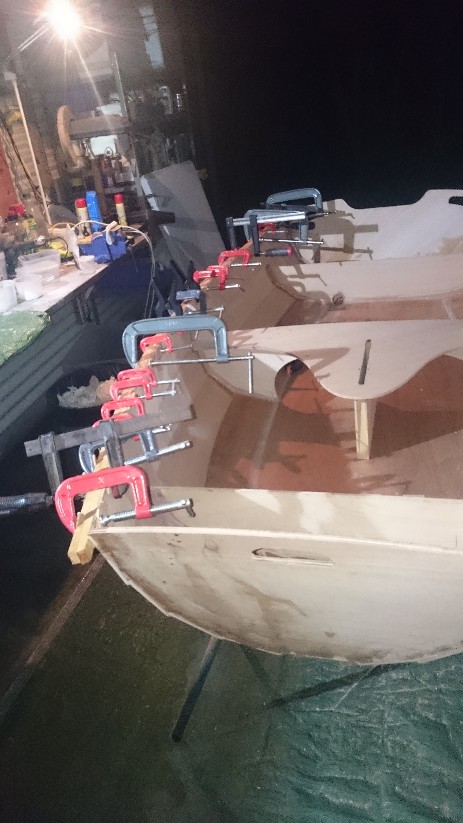
Mixed epoxy and bonded on the starboard side outwales. I did not have an available assistant this time so I marked the centre at the bulkhead and started the clamping from the centre rather than the bow. It worked out ok, but was bit more messy than the first effort. I clamped more tightly this time and nothing moved from its aligned position. Once again alignment was achieved by persuasion from the big white rubber mallet.
A few building tips:-
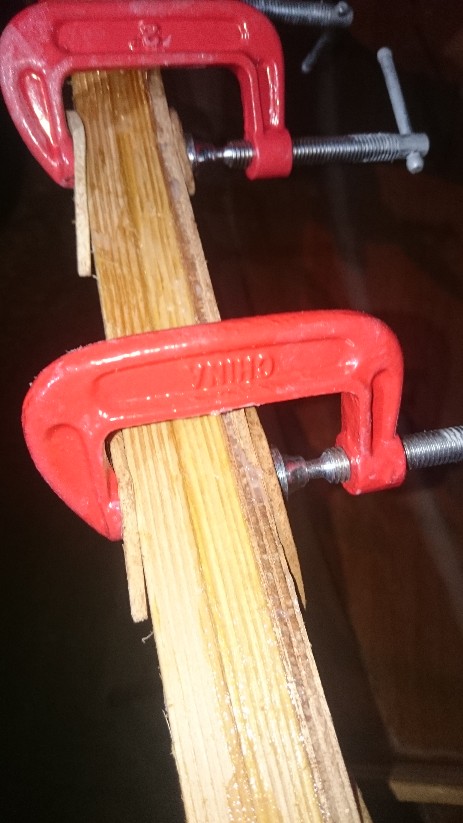
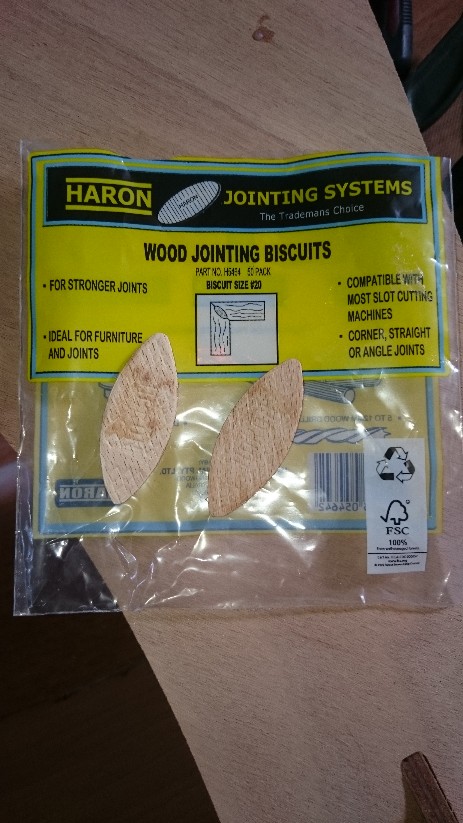
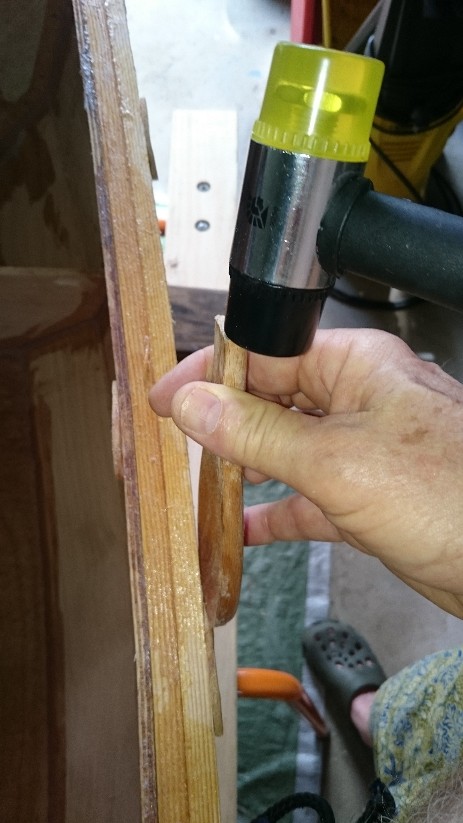
Before clamping the outwales, I was concerned that the clamps would crush the timber and mark it badly. I had a pack of 50 Wood Jointing Biscuits lying around and tried them out as clamp padding. They are very tough and this idea worked a treat. Some of them managed to get bonded on a little but they were easy enough to knock off with the wooden mixing spoon and rubber mallet combo. The biscuits were then reused for the next clamped bonding job.
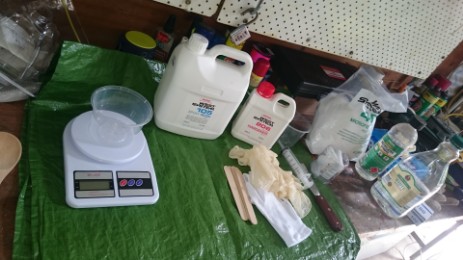
A good building tip from the Denman Marine supplementary instructions was the technique of smoothing a fillet with a thumb or finger dipped in alcohol. They also supplied electronic scales for accurately measuring epoxy components. This was much better than pumping and was very flexible for quantity required.
The local West System agent suggested triple gloves; a cotton glove followed by two thin rubber gloves. The cotton absobs sweat and is comfortable for extended periods and the outer rubber glove can be replaced any time it becomes torn or too sticky.
I tried syringes for filleting but settled on cake icing/piping bags. These were opened over a plastic pot (like a rubbish bin liner) and easily filled with thick epoxy mixes.
When donning the respirator I found it useful to immediately purge it with a few quick shallow breaths to flush out residual fumes.
Session 11
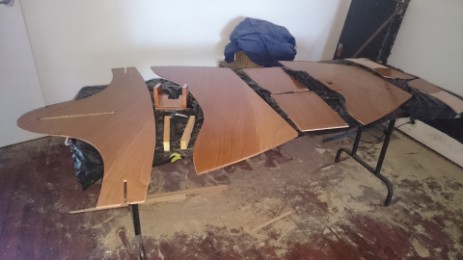
Applied first coat of epoxy to underside of seats, inside the rudder housing, inside the daggerboard case, the mast step box, the fore and aft under seat compartments, the daggerboard slot in bottom edge. Sanded the mast.
Applied first coat of epoxy to underside of seats, inside the rudder housing, inside the daggerboard case, the mast step box, the fore and aft under seat compartments, the daggerboard slot in bottom edge. Sanded the mast.
The epoxy coating was done in an enclosed (vacuum cleaned) room to cut down on airborne dust.
Session 12
Applied second coat of epoxy to the pieces coated yesterday. Shaped the yard and boom spars with 12mm radius quarter curve router. The borrowed router I used was an old Black & Decker unit with an illustrious history in boat building. It came in a solid metal box and although it was was seriously heavy duty, it was accurate and steady.
Session 13
Shaped the skeg for a good fit. Measured and drilled the five pilot holes in the bottom.
Cut the two skids and shaped them. Exact position of skids was not specified in the manual so looked at some construction pictures off the web and located them satisfactorily. Decided to do 5 screws per skid but from the outside in, mainly because of the need to countersink them. Screwing into the skeg from inside makes sense but not so for the skids. The brass rub strips to go on top of the skids will have 6 screws. Confirmed that the skid and rub strip screws will not overlap.
Made up the mast step box. Set up the boat to horizontal to check that the mast was likely to be vertical !
The rudder gudgeons as supplied were 19mm but needed to be 25mm, to save time, I modified them to fix the situation. It took a bit of metal bending and bashing but the result was good.
The rudder gudgeons as supplied were 19mm but needed to be 25mm, to save time, I modified them to fix the situation. It took a bit of metal bending and bashing but the result was good.
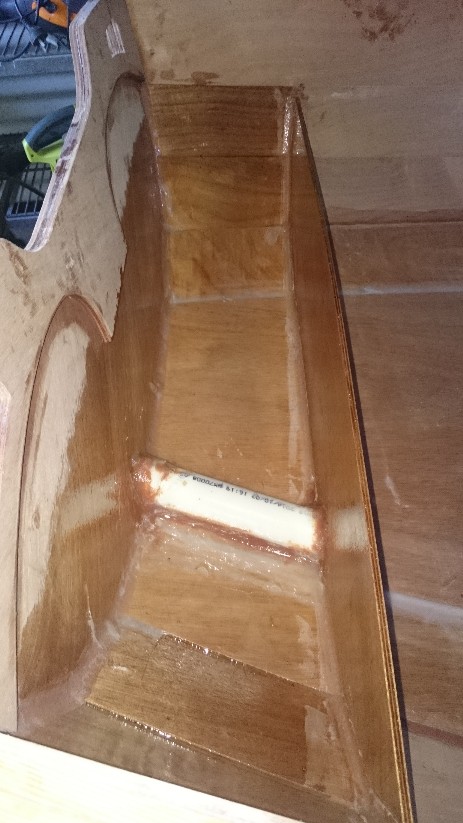
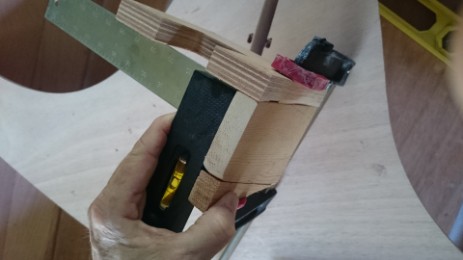
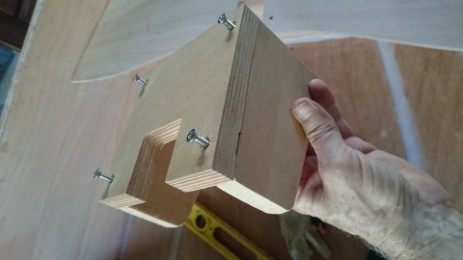
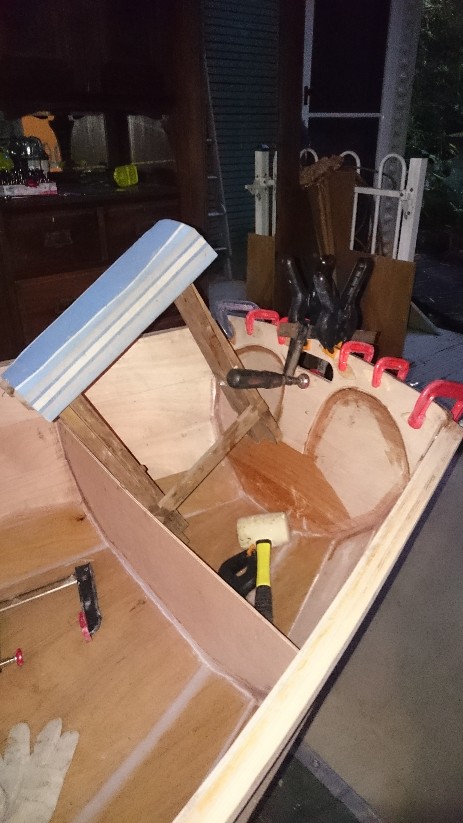
Session 14
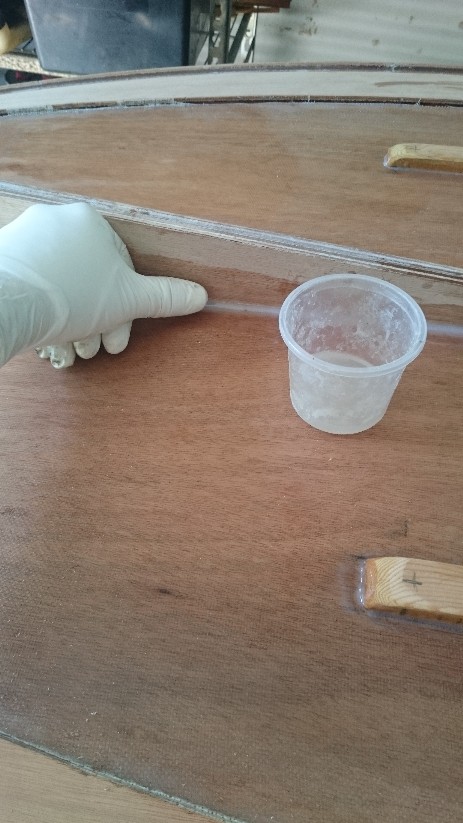
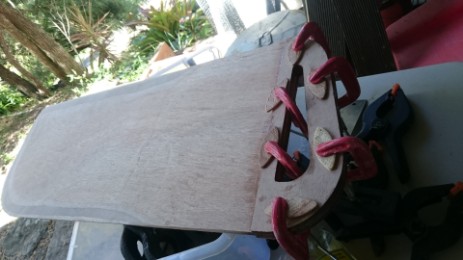
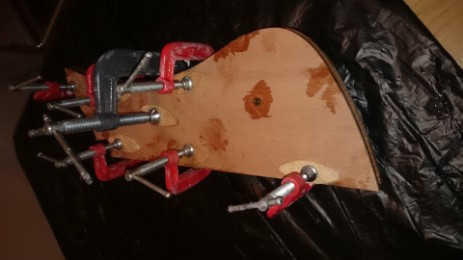
Bonded skeg, skids, daggerboard box, daggerboard tops, motor pad. Couldn't do the rudder housing as I had forgotten to epoxy seal the edge of the insert. I did two batches of 100ml. I used the second lot of raw epoxy for the edge seal this but only just made it on the other bonding as the mix hardened faster than expected.
Bonded skeg, skids, daggerboard box, daggerboard tops, motor pad. Couldn't do the rudder housing as I had forgotten to epoxy seal the edge of the insert. I did two batches of 100ml. I used the second lot of raw epoxy for the edge seal this but only just made it on the other bonding as the mix hardened faster than expected.
After lunch we turned the boat over to get some sanding done but the mains power went out in our area.
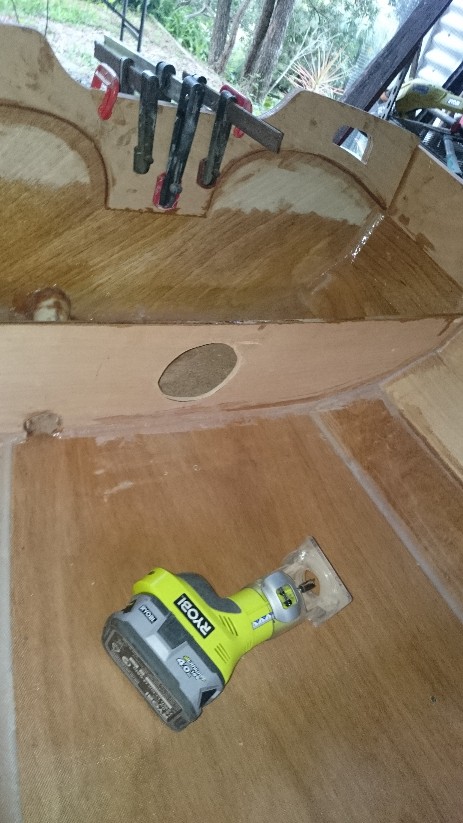
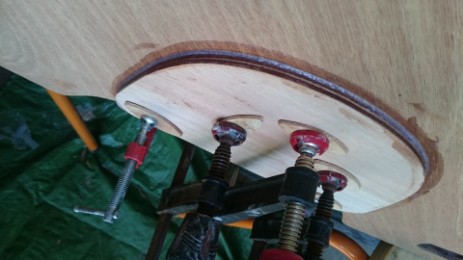
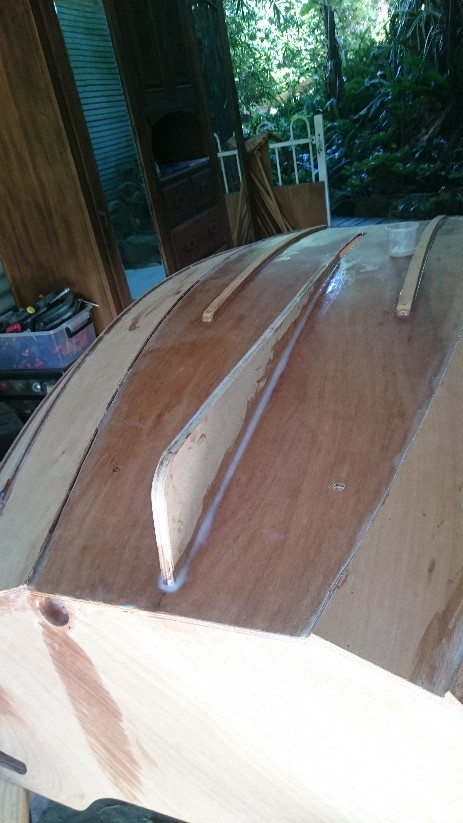
Instead I used the battery pack router to cut out the aft inspection port hole. This job was not without an incident. The router vibration and pressure moved the boat off one of the aft saw horses so I had to quickly grab the transom with one hand and hold the still spinning router with the other, a potentially dangerous situation.
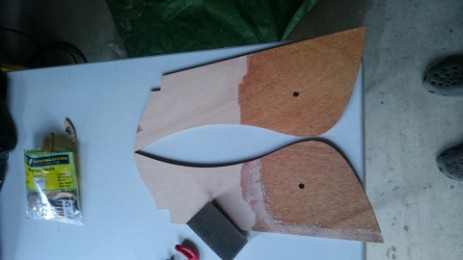
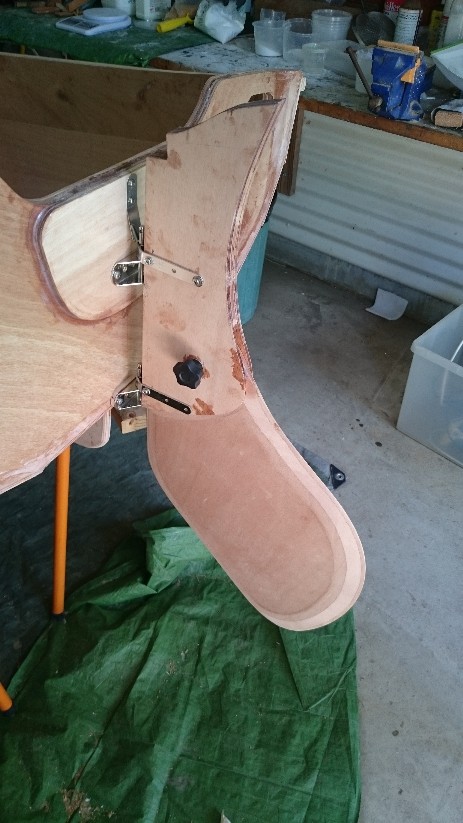
Session 15
Temporarily set up rudder fittings to finish drilling etc. before removing them for final paint. The Oz supplied rudder mounting has pintels on the transom and gudgeons on the rudder, the opposite arrangement to the CLC kit (as shown in my version of the instructions). This means that the upper fitting is located lower down. As the supplied components are quite heavy duty, this set up looked OK.
Session 16
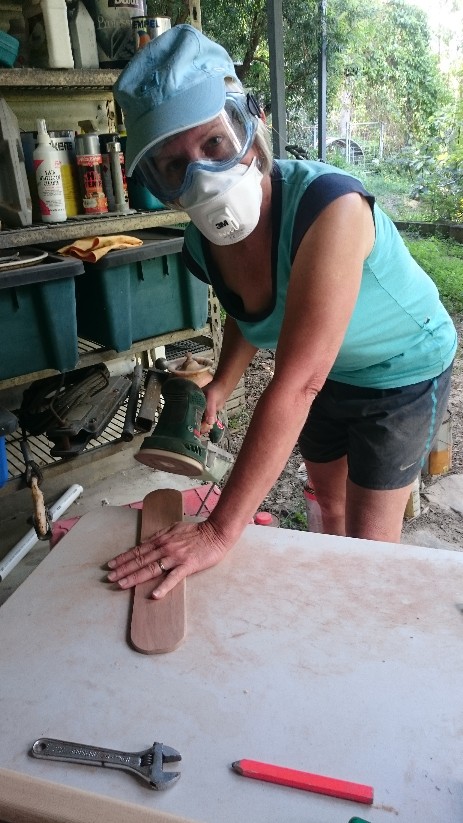
Router used to round outwale inner edge, transom, bow, yard, boom, mast. Sanded lifting holes, outwales edges.
Measured and cut and shaped trunk plug from marine ply sheet.
Cut an inspection port hole in the bow bulkhead, same 100mm size as the aft one.
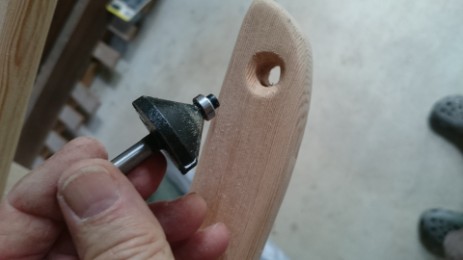
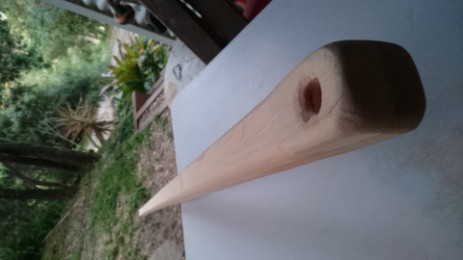
Session 17
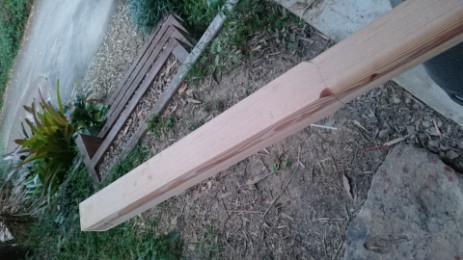
Sanding, drilling routing of mast yard and boom. Boom end partly split during drilling when the bit pulled itself in too quickly. The timber is very stringy with some tough growth rings. Fixable with epoxy.
Cut and sanded the trunk plug top and checked plug fit. (top not yet bonded on)
Fitted the gooseneck but not yet bonded on. The mast top hole was formed by drilling followed by 45 degree router and finished with a conical grinding stone on the drill. The rope path is nice and smooth.
Screwed the cleats onto the mast and then set up the entire sail in the living room to confirm all is well. It looks good. The sail did not come with batons but I will see how well it sails before making any changes.
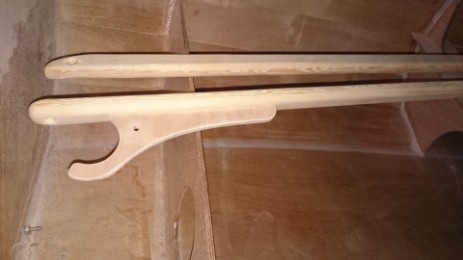
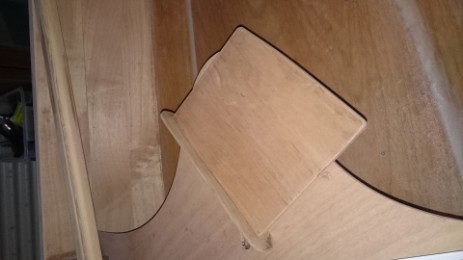
Major milestone; all woodwork shaping completed and rudder the sailing fittings temporarily fitted.
The seats are not yet bonded on.
Session 18
About 5 hours work.
Sanded inside, bulkheads, daggerboard box.
Sanded the daggerboard
Bonded front seat and box, trunk plug, set splinter back into the boom, filleted the front doubler. Ran out of epoxy...due to earlier exothermic run away on two pots.
Had to sand rear seat more to get a better fit.
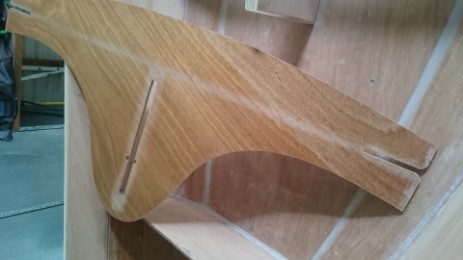
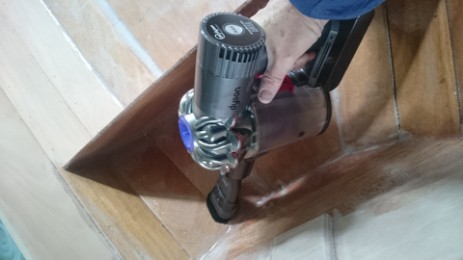
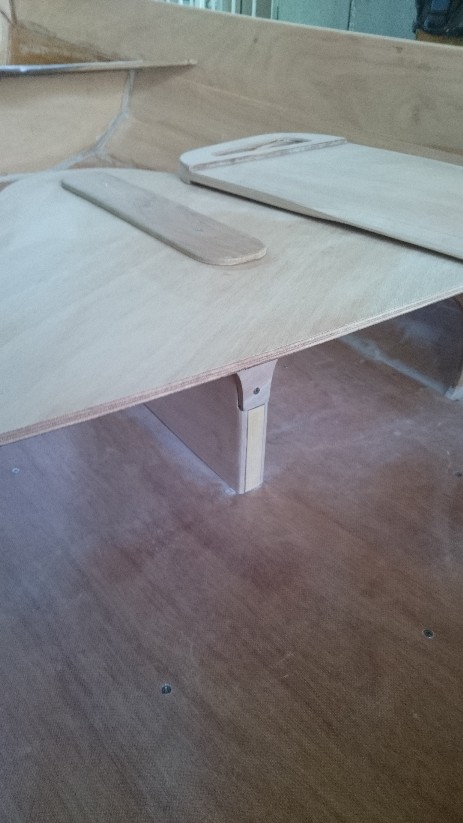
Session 19
Went and bought some more epoxy, 2x 1 litre of 105 and 206, 207 hardener after talking to the West System agent. Also discussed paint with them and was referred to Resene, just down the road.
The Resene factory provided a knowledgeable consultant who quickly grasped the details and came up with a complete recommendation including product data sheets and a shopping list to get me to the finish line.
The Resene factory provided a knowledgeable consultant who quickly grasped the details and came up with a complete recommendation including product data sheets and a shopping list to get me to the finish line.
Resene is the local (licenced) manufacturer of Altex paints
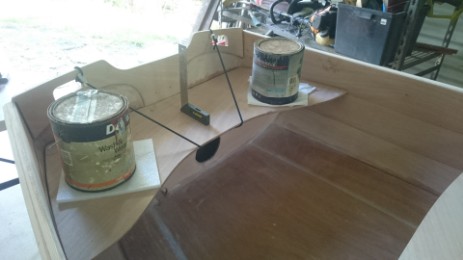
Session 20
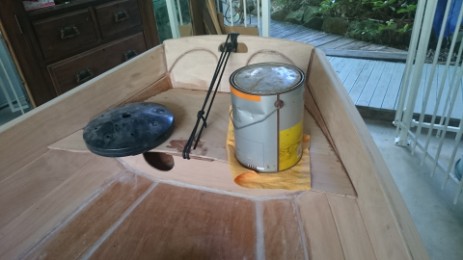
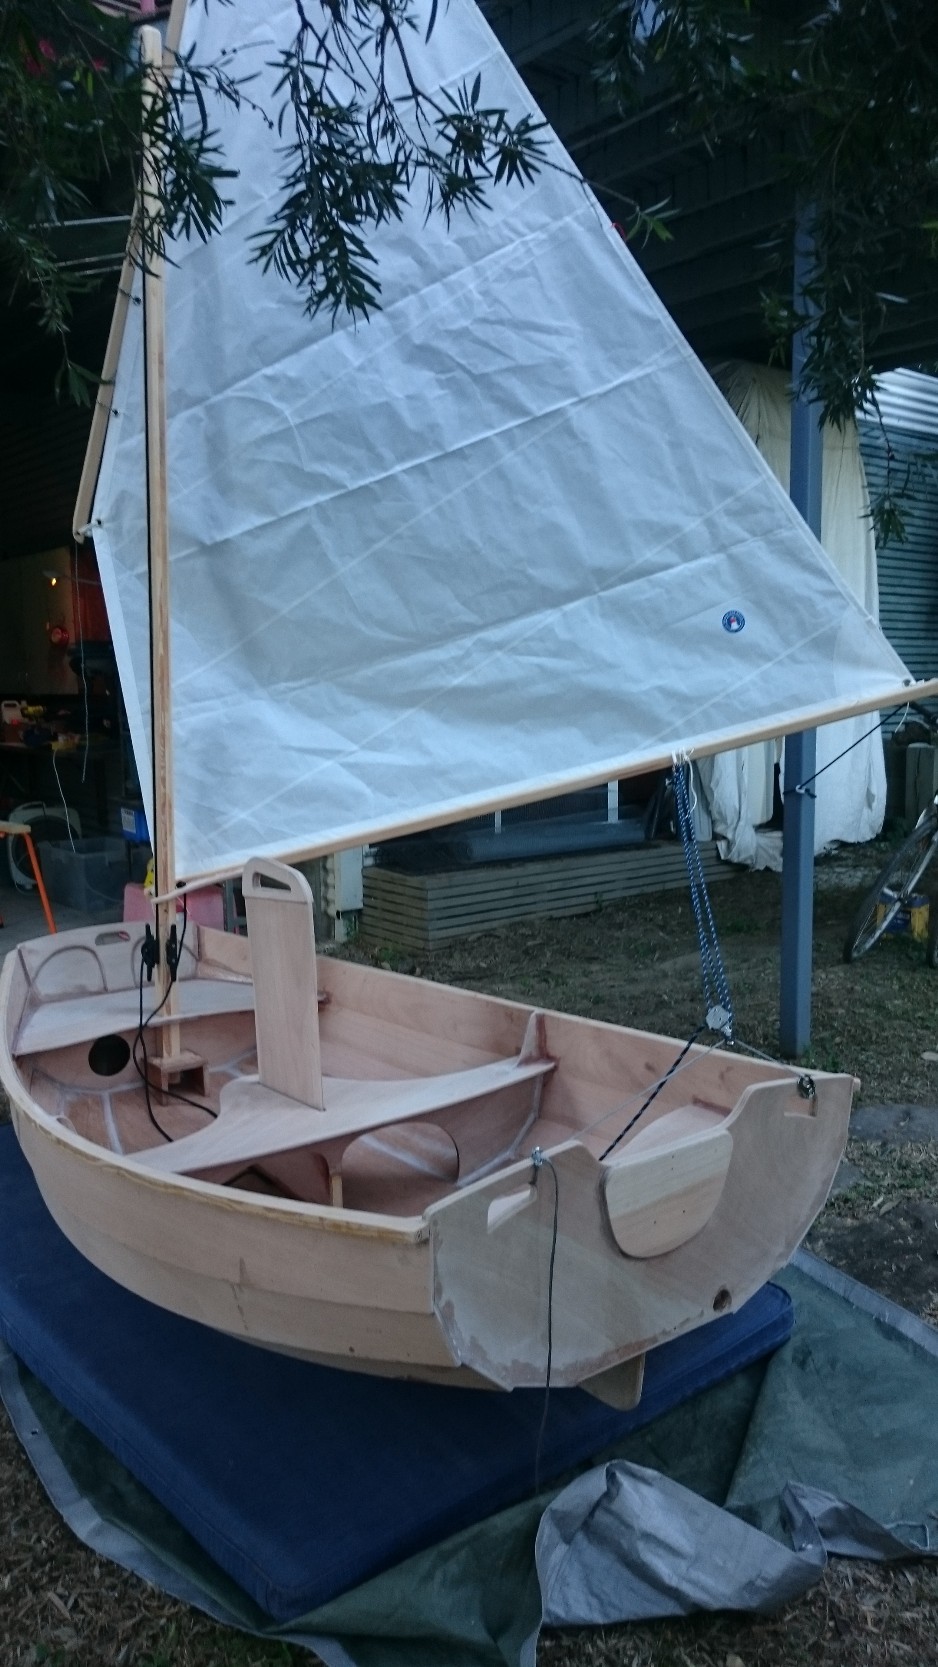
Measured and placed mast box in position with screws only. Moved the boat out into the yard on a foam mattress and set up the sail rigging. All looks OK. Tested the rowlock positions, seems OK. We did not do a cut in the seat for the trunk plug top but instead carefully rounded the top. The first shaping of the trunk plug was a bit intrusive so we decided to sand it down to a better shape.
Session 21
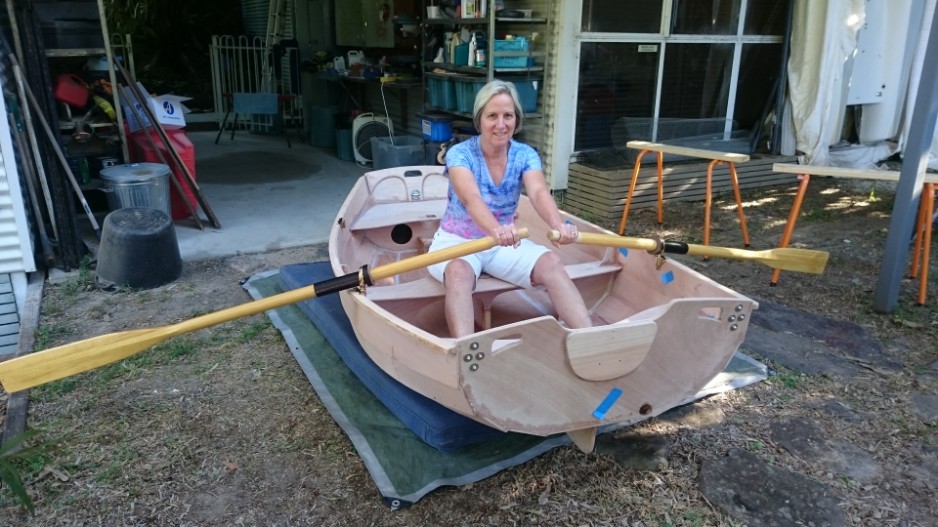
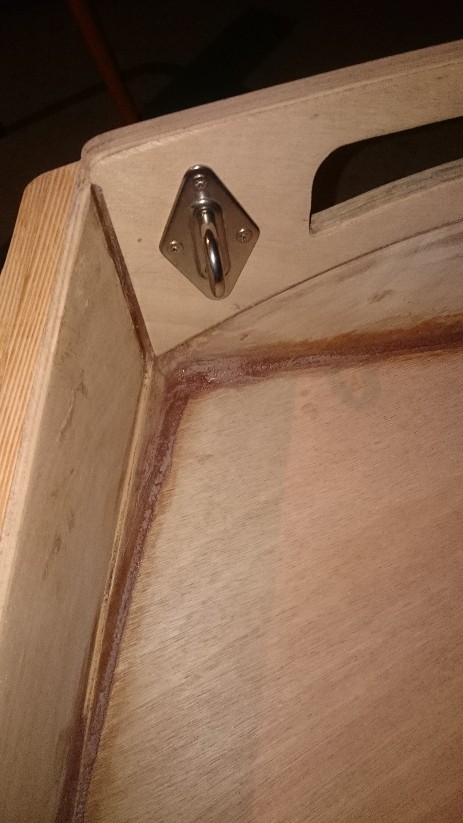
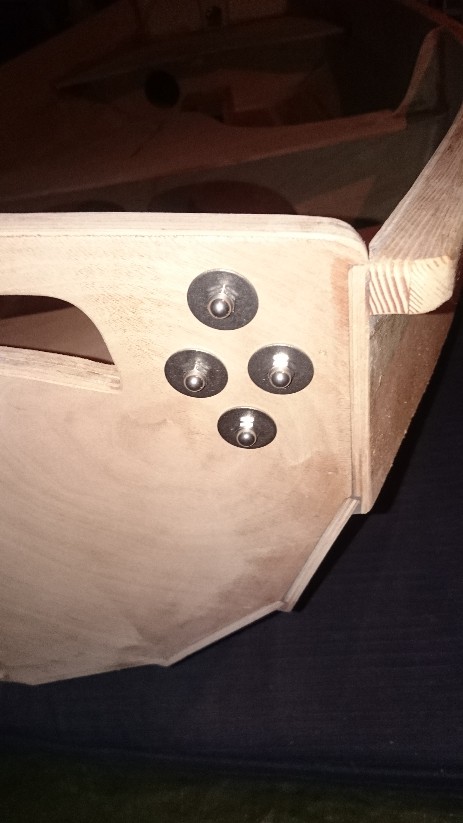
Deborah sanded the trunk plug. I fitted the three lift points and the two sets of rowlocks. Moved boat outside again and checked rowing positions. The normal position is perfect. The bow position has the oar ends overlapping in the center but this is the compromise for achieving a good strong pulling position and angle. Worked out a trunk plug retention method for sailing capsize situation.
Session 22
Bonded in the mast box and filleted inside the front seat in the area supporting the mast box via the inspection port hole. Patched up all holes and gaps inside the hull. Patched up a couple of chips in the boom around the hole near the gooseneck. Bonded on the lower rudder pintel mount to keep the pins more or less inline due to the upper pintel being on the motor mount.
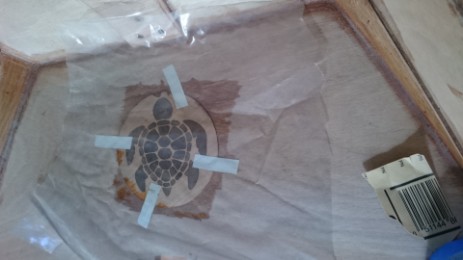
Session 23
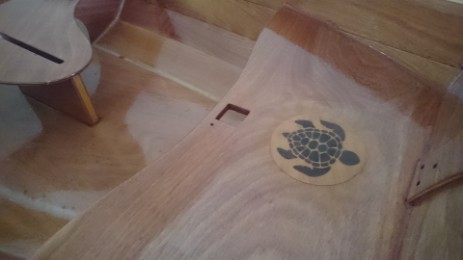
Bonded the sea turtle onlay. For the second coat switched to 207 extra clear hardener and coated the forward seat.
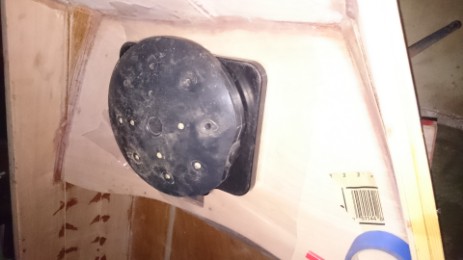
Session 24
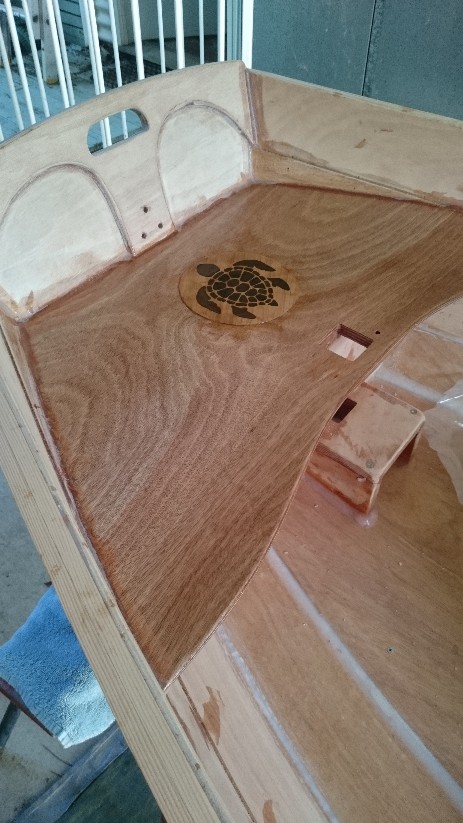
Sanded the inside, and bow and transom ahead of epoxy sealant, paint and varnish. Decided to varnish just the upper three planks rather than down to the floor. For the floor, the glassed section and the next plank up will be non-slip treated.
Got annoyed with blow in dust and an insect epoxied to the front seat. Decided to move the boat into enclosed room for finishing.
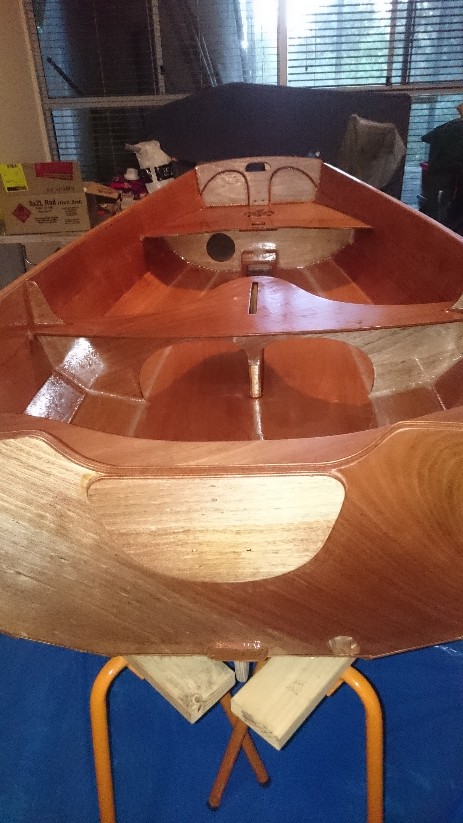
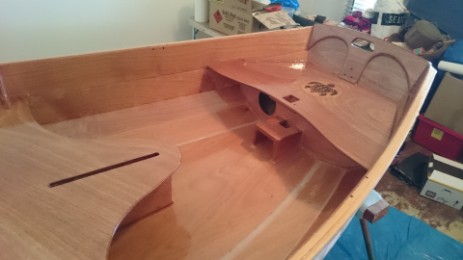
Session 25
Woke up too early for sanding so went for a seaside walk and to watch the sun rise. Deb sanded the mast and sailing bits. These will require four epoxy sessions doing one or two sides at a time, so they will be done alongside the boat.
Completed the first of the boat's inside epoxy coats and the sailing bits half coated. Quantities of epoxy using 207 Clear hardener (mixes 3:1), 2 lots of 133g and 1x 150g for a session total of 283ml. The fumes from the 207 are noticeably stronger than the 206. The respirator was still working fine but I had a second set of filters so I renewed them.
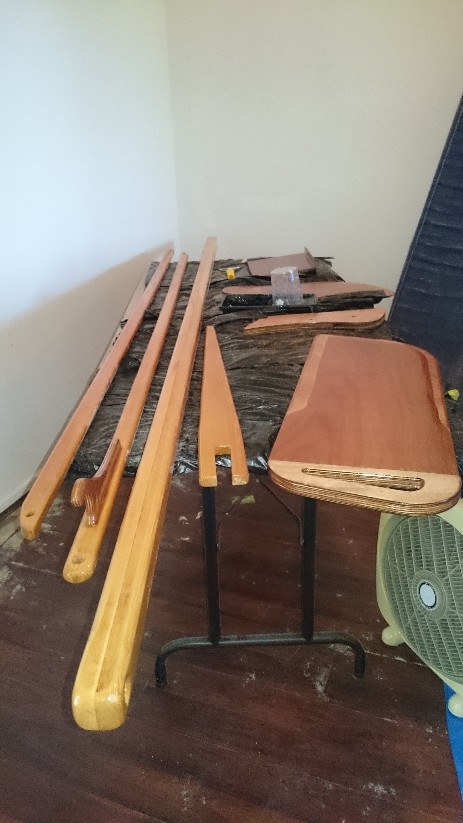
Session 26
Light sanding then second coat of epoxy for the inside, other sides for completing first coat of spars.
Mixed 2x 200ml (207 clear) for boat and 80ml for the spars. A couple of nooks and crannies had poor coverage on the first round so I did these first with a small brush, mostly plank overlap edges and inside the mast box. Cut a small piece of glass mat about 50mm larger than the onlay and wet it into place. Overall, it appeared that there were a few more bubbles and roller fluff this time, maybe because of the added time to do the brushing and onlay? After coating I went over the lot with a strong light and checked the reflection. Picked up a couple of runs caused by roller over the brushed areas. There also appeared to be a couple of blushes which went away when gently brushed (on back seat to transom joint) Not enough 207 left for the outer hull ... Another trip to the local West System agent, so I will get some more 206 on the basis that the outside needs toughness not clarity.
Session 27
Coated the second half of the spars. Sanded and heavily coated the onlay. Brushed up a couple of spots that looked light on.
