Launching - Novice Building An Eastport Pram In Australia
Main menu:
Launching
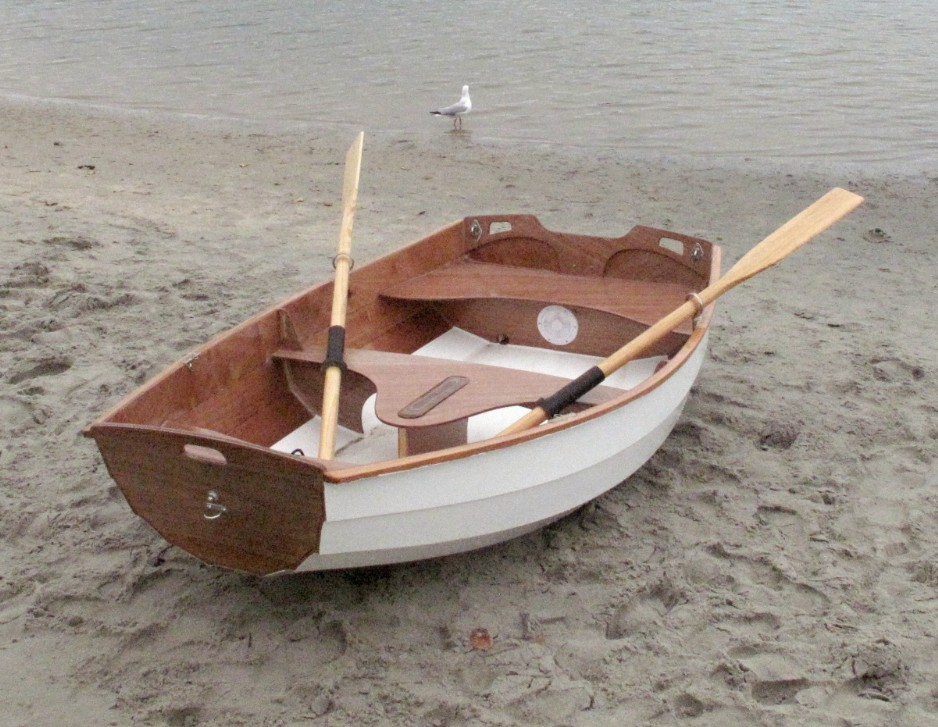
Sunday, 14th June 2015 was launching day.
We asked some friends to come to an informal pic-nic and launching at Tallebudgera Creek and they all rolled up with gourmet food. So long since most of us had had a pic-nic! A great time was had by all and most tried rowing and/or sailing. It was most entertaining; even the other craft on the creek were entertaining. A storm was threatening but held off until after we were back home.
The boat was duly named "Love me tender" and blessed. I know the name is a bit corny but it rings true so I stayed the course with the name.
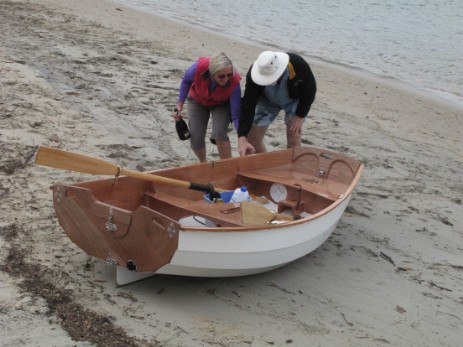

Photo gallery...
Final jobs.
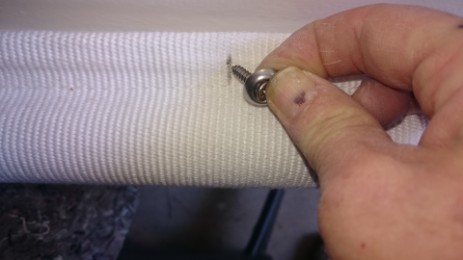
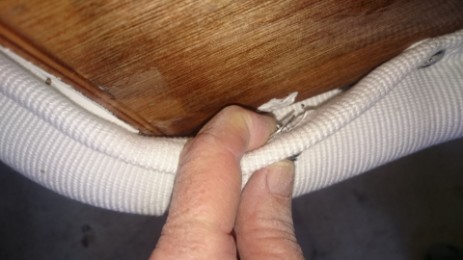
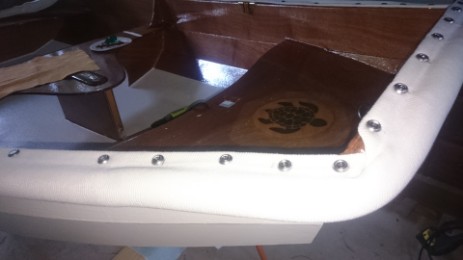
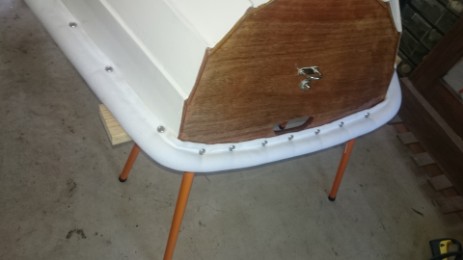
Install the Gunnel Guard and plug an annoying small leak.
Install the Gunnel Guard and plug an annoying small leak.
After the launching party, I checked the two 'watertight' compartments. The front was fine but the aft one had taken on a small amount of water, maybe about 1/2 a cup full. This was a worry so it was definitely the next job after fixing the bumper strip (Gunnel Guard).
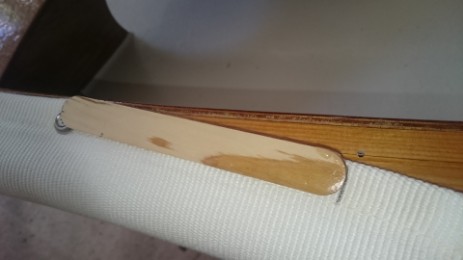
There was a fair amount of discussion in the CLC forum about what to do about bump protection. I opted for the Gunnel Guard accessory as it should be rot and sun proof. As a tender to our sailing catamaran it needed to be robust. Compared to the cost of the finishing paints it was not too bad a price although more expensive than the plastic alternatives.
Finding and fixing the leak.
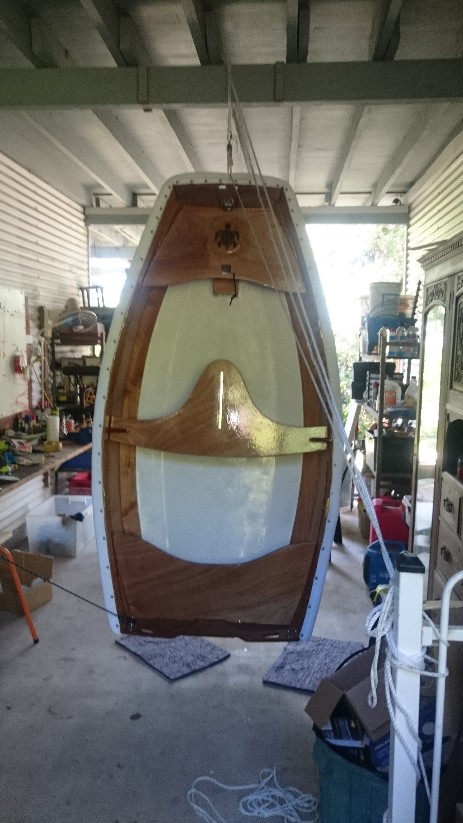
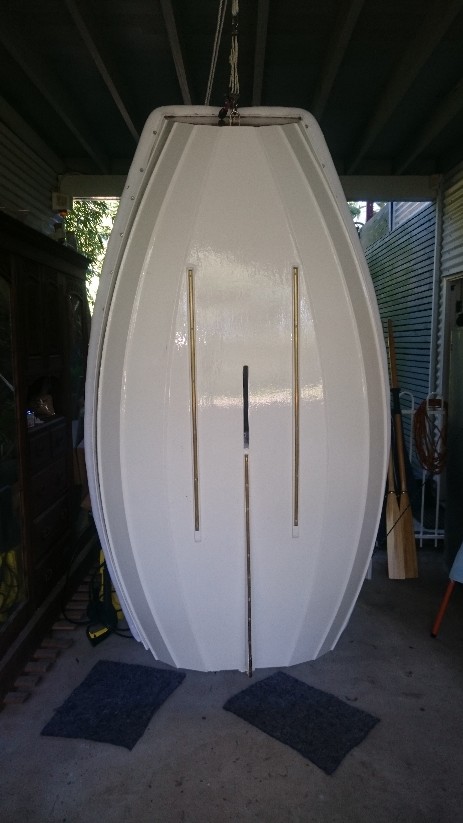
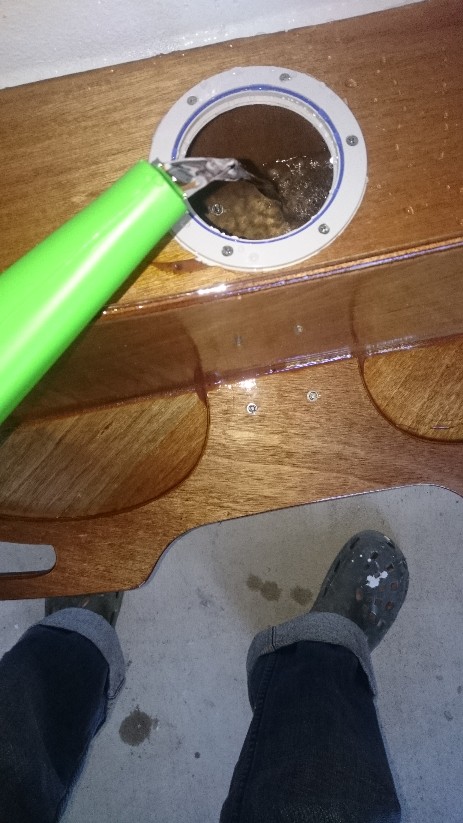
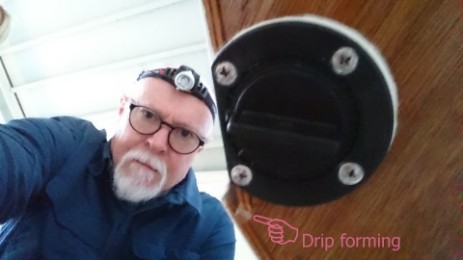
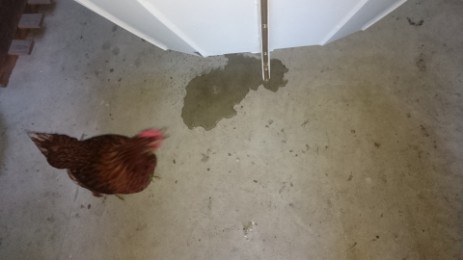
There was no obvious hole for water to enter the aft compartment but the fittings were a possibility. To find out, we hoisted the boat up vertically over a beam in the workshop with main sheet tackle and then half filled the compartment and the drain pipe with water. The drain pipe level did not change but a drip appeared alongside but not as a part of the bung fitting. The leak was in the fillet between the bottom and plank one on the right hand side. On close inspection and a photo from underneath, there was a very fine gap there. The feathered leak investigator confirmed that there was water on the floor!
A second leak appeared to be in between the transom and the doubler. Once again due to a very small gap in the fillet. Who know what the exact flow path was for this one but it was unlikely to be a problem once plugged.
The gap near the bottom was drilled and filled with epoxy; tested again and proven to be fixed.
